🔁 How to Reinstall the Operating System on Your VPS
Reinstalling your VPS operating system is simple and takes just a few minutes. Follow the steps below to reinstall your OS from your client area.
🖼 Step 1: Navigate to the Reinstall OS Section
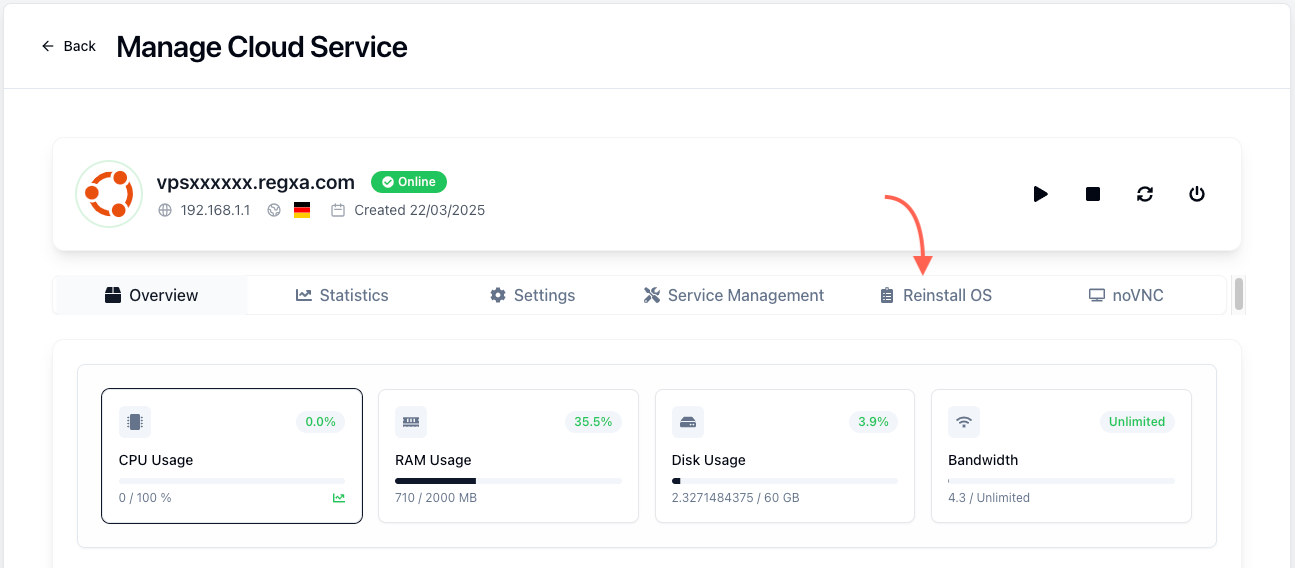
Go to your VPS management panel and click on the "Reinstall OS" tab from the top navigation menu.
🖼 Step 2: Choose an Operating System
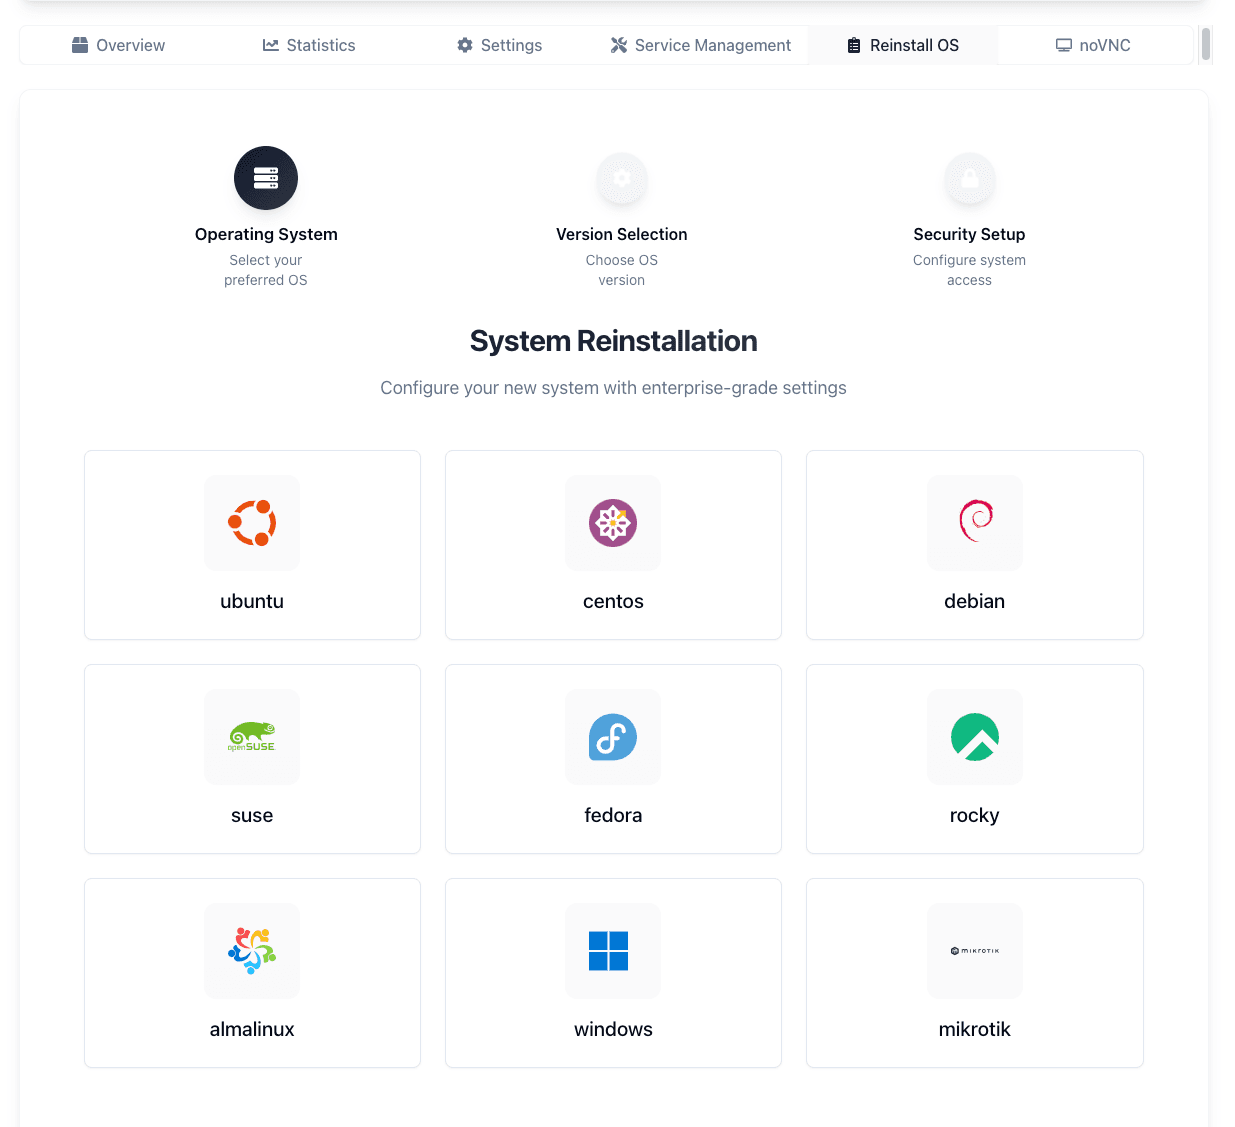
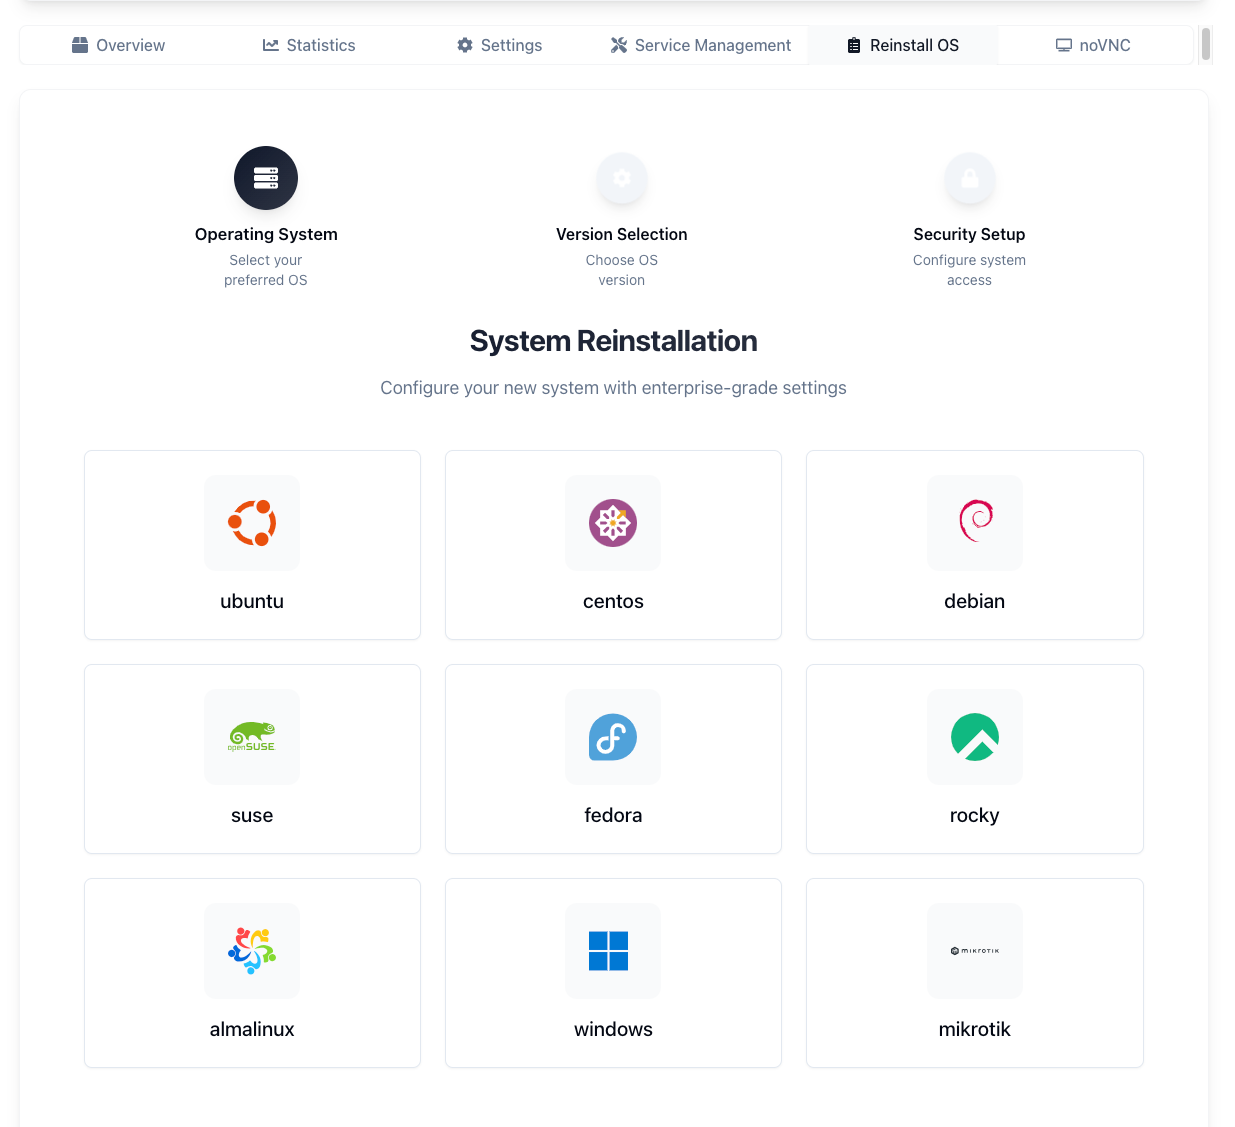
From the available options, select the operating system you wish to install. You can choose from distributions like Ubuntu, CentOS, Debian, AlmaLinux, Windows, and more.
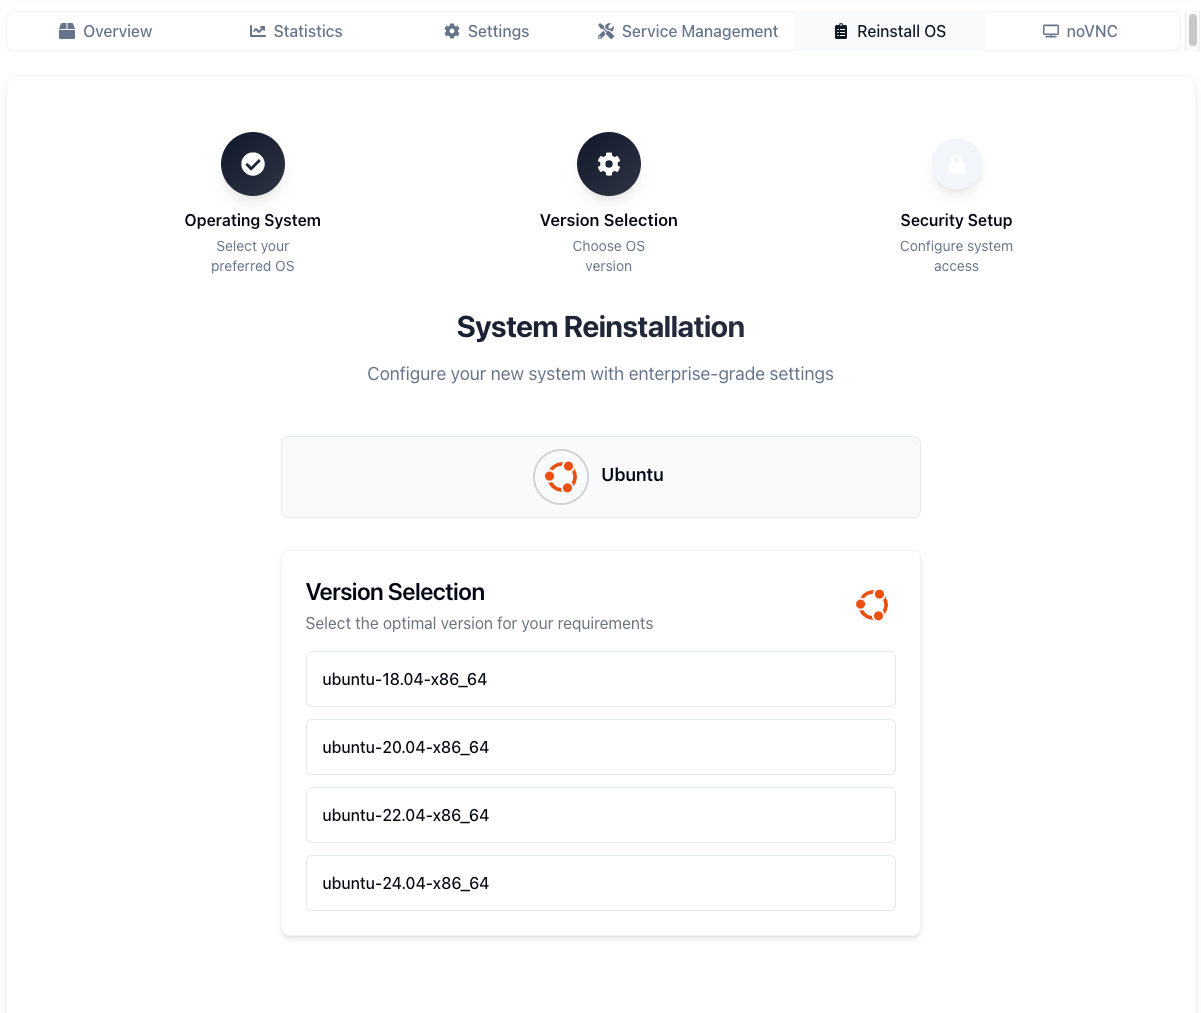
🖼 Step 3: Select a Version
Once you select your OS, choose the version you want to install. For example, for Ubuntu, you can pick from versions like 18.04, 20.04, 22.04, or the latest 24.04.
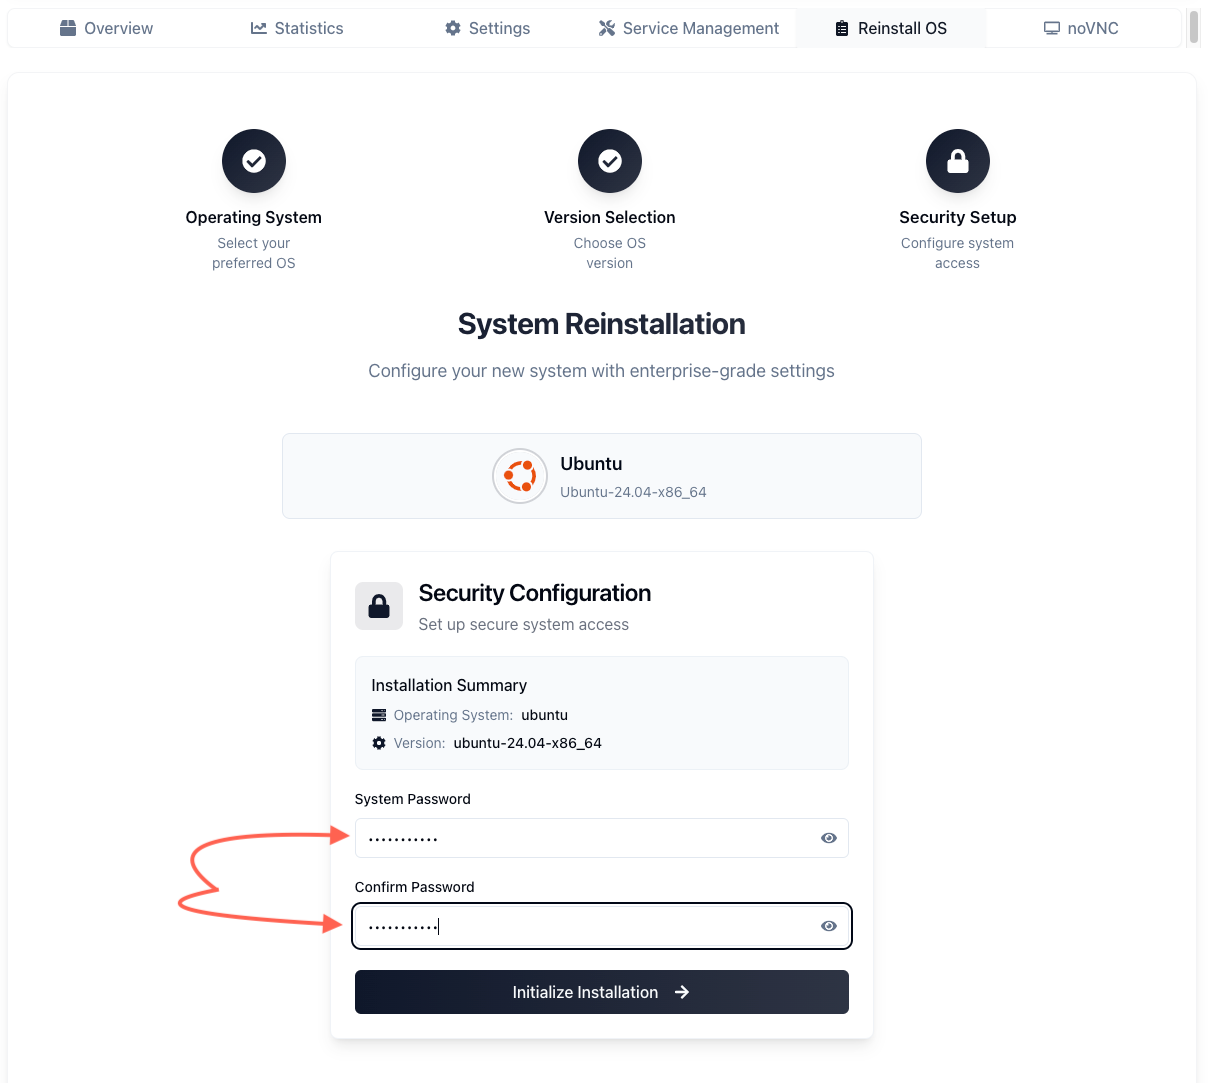
🖼 Step 4: Set Your Root Password
Enter a new root password in both input fields (System Password and Confirm Password) to secure your server. Make sure both passwords match before continuing.
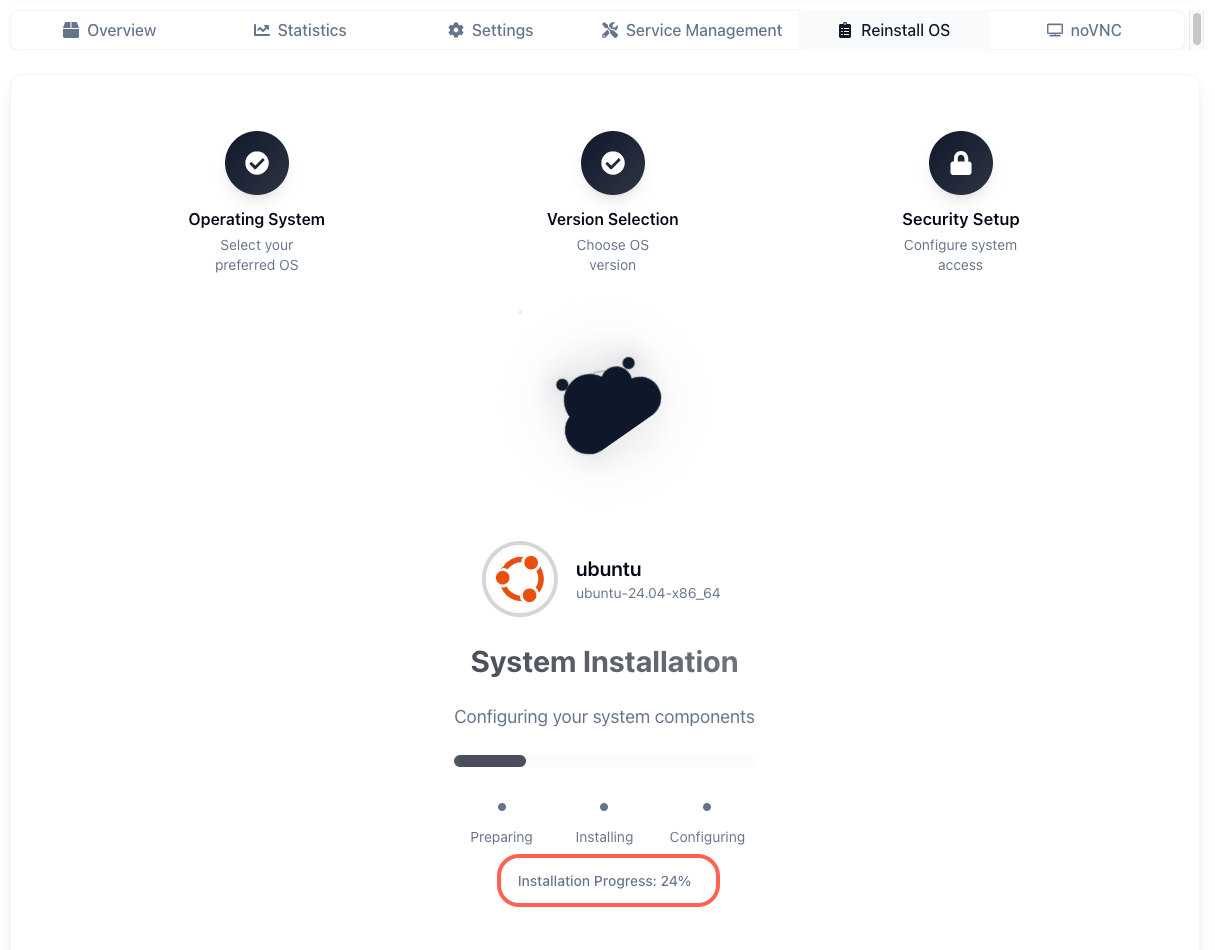
🖼 Step 5: Wait for the Installation to Complete
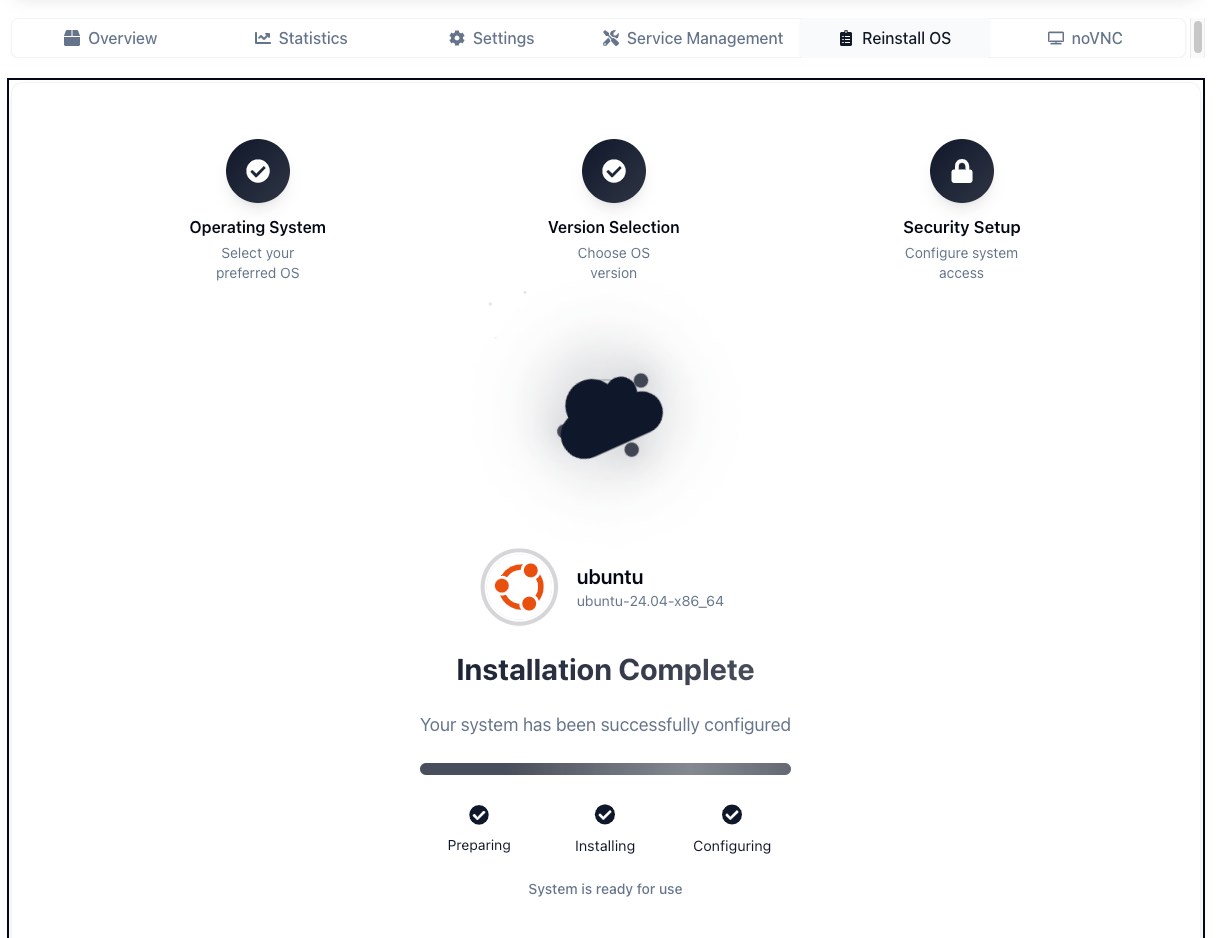
Once you start the installation, the system will go through Preparing, Installing, and Configuring stages. This process may take a few minutes.
🖼 Step 6: Installation Complete
You will see a confirmation that the installation is complete and your new system is ready for use.